Master the art of making a stunning crochet wrap skirt with this easy-to-follow guide, perfect for adding style and charm to your wardrobe beautifully.
Versatile Crochet Wrap Skirt Pattern for Any Wardrobe
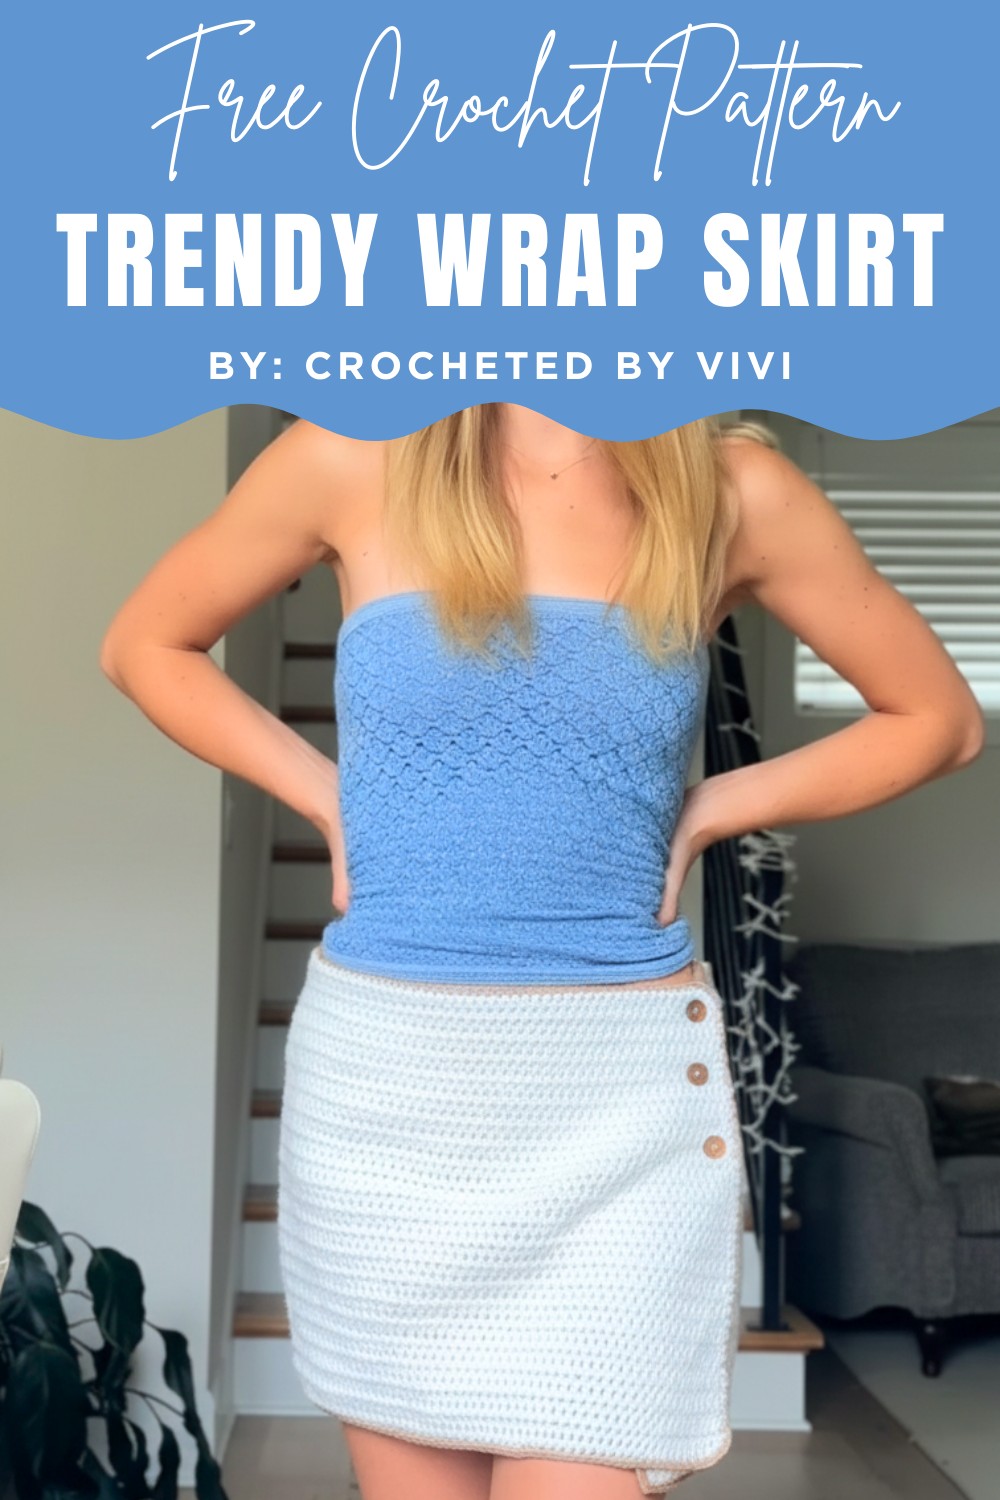
The wrap-around fit, button accents, and made-to-measure approach make it a go-to piece you’ll reach for again and again. Add your favorite yarn colors, stitch away, and watch this skirt twirl-worthy staple come to life!
Supplies
- Yarn: Any yarn weight or type, based on preference (the pattern is made to measure).
- Crochet Hook: Recommended 5.5 mm or size suitable for your yarn.
- Buttons: Three buttons for fastening.
- Yarn Scissors
- Stitch Markers: Optional, helpful for button placement.
- Needle and Thread: For sewing buttons.
Instructions
Foundation Chain
- Make a slip knot.
- Chain a length that fits around your waist or hips, adding 1–2 inches for overlap.
Example: 135 chains were used in the video, but you can adjust for your size.
Row 1: Half Double Crochet (HDC)
- Chain 1 extra.
- Work 1 HDC into the second chain from the hook.
- Continue placing 1 HDC in each chain across the row.
Row 2: HDC Row
- Chain 1, turn your work.
- Work 1 HDC in each stitch across the row.
Row 3: First Buttonhole
- Chain 1, turn your work.
- Work 1 HDC in the first 3 stitches.
Create a buttonhole:
- Chain 1–3 (based on your button size).
- Skip the same number of stitches as you chained.
- Resume HDC in the next stitch.
Continue placing HDCs in each stitch until the end of the row.
Rows 4–7: HDC Rows
For each row:
- Chain 1, turn.
- Work 1 HDC in each stitch.
- When working into chain spaces from the buttonhole, insert hook into the chains.
Row 8: First Increase Row
- Chain 1, turn.
- Work 1 HDC in each of the first 5 stitches, then 2 HDC in the next stitch.
- Repeat this pattern across: 5 HDC, 2 HDC in next.
- It’s fine if the row doesn't end exactly on an increase.
Row 9: Second Buttonhole
- Chain 1, turn.
- Work 1 HDC in the first 3 stitches.
- Chain the same number as before for the buttonhole.
- Skip the same number of stitches.
- Work 1 HDC in the next stitch.
- Continue HDCs across the row.
Rows 10–13: HDC Rows
- Chain 1, turn for each row.
- Work 1 HDC in every stitch across each row.
Row 14: Second Increase Row
- Chain 1, turn.
- Work 1 HDC in each of the first 10 stitches, then 2 HDC in the next stitch.
- Repeat this pattern across: 10 HDC, 2 HDC in next.
- It's okay if the row doesn't end perfectly with an increase.
Row 15: Third Buttonhole
- Chain 1, turn.
- Work 1 HDC in the first 3 stitches.
- Chain the same number used in previous buttonholes.
- Skip that number of stitches.
- Work 1 HDC in the next stitch.
- Finish the row with regular HDCs.
Rows 16 and Onward: Continue Until Desired Length
- Continue working rows of plain HDCs with no increases or buttonholes.
- Repeat: Chain 1, turn, and place 1 HDC in each stitch.
Once the skirt reaches your desired length, finish off:
- Cut the yarn leaving a tail.
- Chain through the last loop and pull to secure.

Optional: Add a Border
- Use a contrasting yarn color if you like.
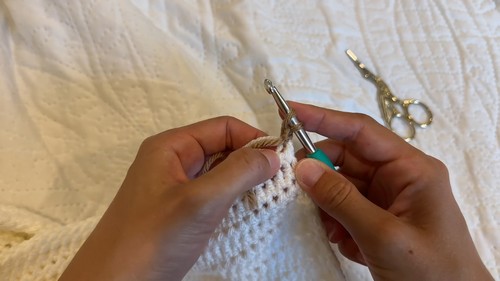
- Attach the yarn with a slip knot.
- Chain 1, then work single crochets (SC) around the entire edge.
- To SC: Insert hook, yarn over, pull through, yarn over, pull through both loops.
- Work carefully along row edges.
- When you reach the beginning, slip stitch to the first SC.
- Finish off and weave in the ends.
Attaching the Buttons

Placement
- Lay the skirt flat.
- Wrap it around your waist or hips to check the overlap.
- Mark the stitch directly under each buttonhole using stitch markers.
- Use the same number of stitches from the edge for all button positions.
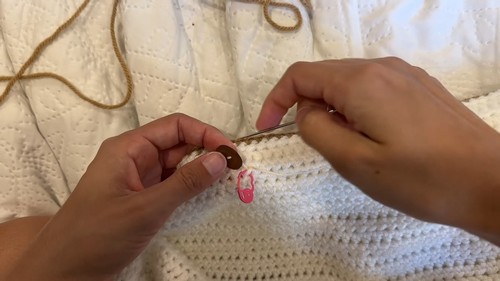
Sewing
- Thread a needle with matching or sturdy thread.
- Sew each button securely where the markers were placed.
- Tie off and weave in or trim the excess thread.
Step-by-Step Guide to Crochet a Wrap Skirt
