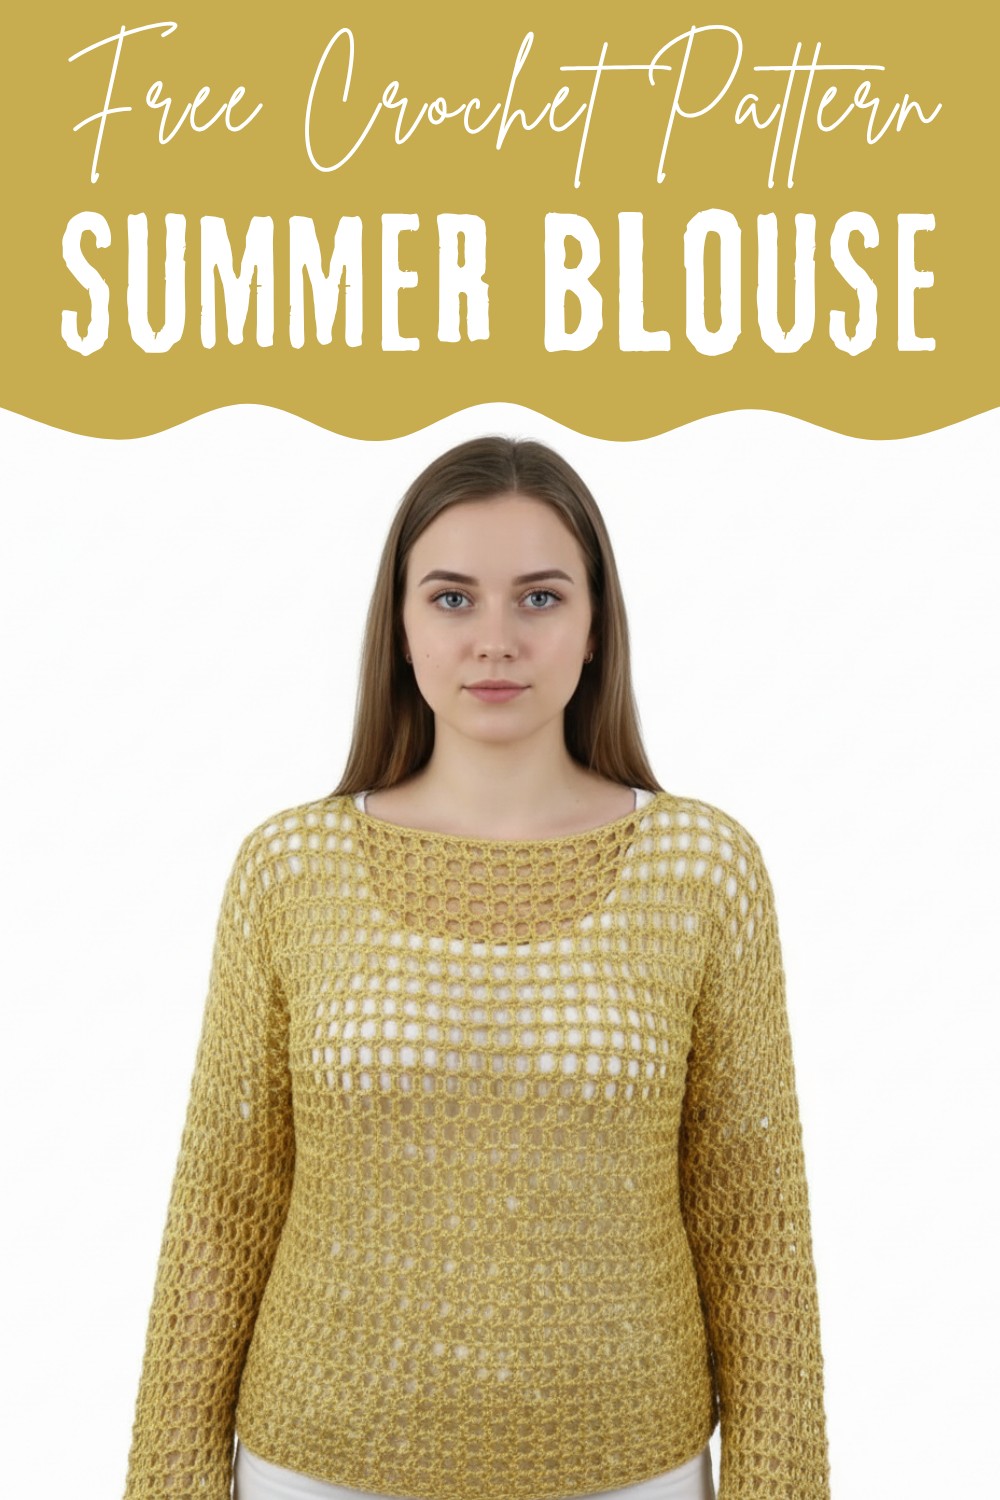
Wear a touch of summer elegance with this free crochet summer blouse pattern, light, stylish, and perfect for casual days or warm evening outings.
On a warm summer day, nothing feels better than wearing something light, airy, and handmade with care. A free crochet summer blouse pattern makes it possible to create a beautiful top that is perfect for sunny days and breezy evenings. This blouse stands out with its delicate crochet stitches, making it both stylish and breathable. The soft and lightweight design hugs the body in all the right places, offering comfort without compromising on elegance.
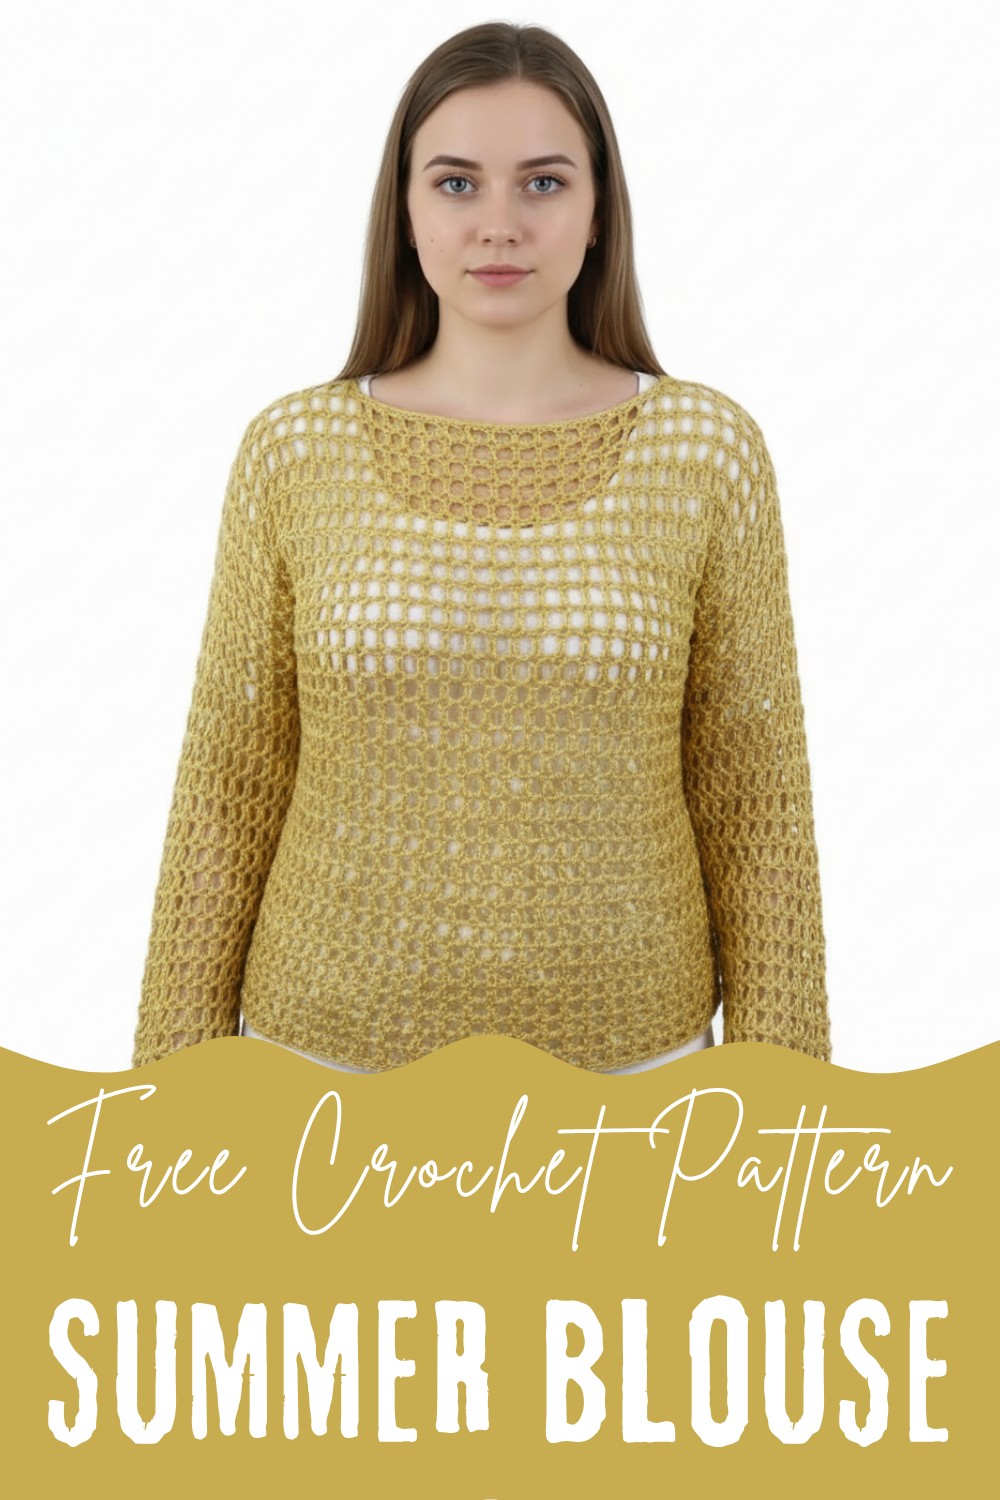
Free Summer Blouse Pattern for Everyday Comfort
Whether you want an outfit for a casual outing or something unique for a special occasion, this blouse is a perfect choice. You can pair it with jeans, skirts, or shorts to create different looks effortlessly. Crocheting this blouse not only gives you something gorgeous to wear but also allows you to express your creativity through every single stitch. With minimal materials and this free pattern, you can bring to life a one-of-a-kind summer piece that looks stunning and feels good to wear.

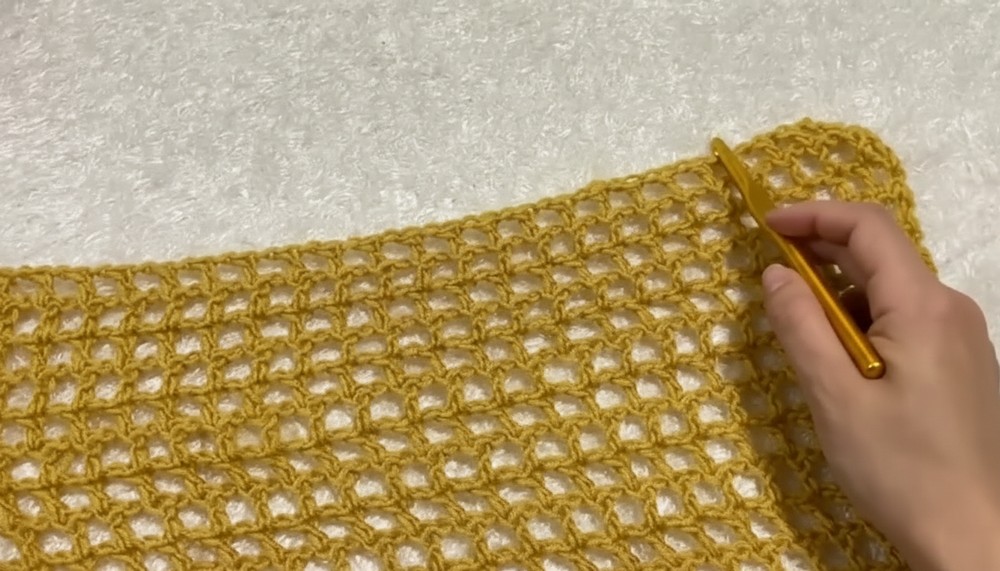
Crochet Pattern: Summer Blouse with Granny Square Mesh Look
Finished Size
The blouse dimensions are customizable based on chest circumference and desired length.
Skill Level
Beginner to Intermediate – Familiarity with basic stitches (chains, double crochet) and construction methods (joining parts and sewing seams).
Materials
Yarn
- Type: Himalaya Everyday Super Lux Yarn (or similar).
- Composition: 100% Anti-pilling Acrylic.
- Weight: Light worsted/Category 4.
- Amount: 2 skeins (each skein: 100 g, 250 m). You may need more for larger sizes or if adding sleeves.
Hook
- Size: 8 mm crochet hook (US size L). This larger hook ensures wide stitches suitable for summer wear.
Tools
- Tape Measure: To measure chest circumference.
- Scissors: For cutting yarn.
- Tapestry Needle: To weave in ends and sew seams.
Gauge
The mesh stitch made using the specified materials yields:
- 4 blocks (columns) = Approximately 2 inches (5 cm).
Ensure your gauge matches or adjust hook size to meet desired dimensions.
Key Abbreviations (US Terminology)
- ch: Chain
- dc: Double Crochet
- sl st: Slip Stitch
- st(s): Stitch(es)
- yo: Yarn Over
Special Notes
- Even Tension: Keep stitches loose to maintain the airy, wide texture of the fabric.
- Construction Layout: The blouse is created in two flat panels (front and back), then joined horizontally and vertically. Sleeves, if desired, are crocheted separately and attached afterward.
Pattern Instructions
Step 1: Preparation and Measurements
- Measure chest circumference and divide by 2 to determine the width of the front and back panels.
- Each panel starts with a foundational chain equal to half the chest circumference + 3 chains for height adjustment.
Step 2: Crocheting the Front Panel
Foundation Chain
- Start with a slip knot and make chains equal to half the chest circumference (odd number).
- Example: For 57 cm width, chain 57.
- Add 3 chains for height adjustment.

Row 1: Mesh Stitch Start
- Ch 3 (this counts as the first dc).
- Yo, skip 1 chain, and work dc into the next chain.
- Ch 1, skip 1 chain, dc into the next chain.
- Repeat: Ch 1, skip 1 chain, dc into the next until the end of the row.
Row 2: Mesh Continuation
- Ch 3 (counts as the first dc), turn.
- Yo, work dc into the top of the next dc from the previous row (over each dc).
- Ch 1, skip the chain space, and work dc into the next dc.
- Continue repeating Ch 1, dc until the end of the row.

Rows 3–X: Repeat for Full Length
- Continue repeating Row 2 until reaching the desired panel length.
- Example: To achieve 31 rows for a blouse length of approximately 20 inches (50 cm).
Step 3: Shaping Neckline and Shoulders
Row 32: Neck Opening
- Work evenly across the first 7 blocks (each block is 1 dc + 1 ch).
- Skip 15 center blocks to create the neck opening.
- Continue working the remaining 7 blocks for the shoulder.
Row 33: Shoulder Continuation
- Continue working 7 blocks for each shoulder.
- Fasten off once shoulder rows are complete.
Step 4: Crocheting the Back Panel
- Repeat Steps 2 and 3 to create the back panel.
- Adjust neckline height if desired (e.g., leave a smaller neck opening for the back panel).

Step 5: Assembly
Sewing Front and Back Panels
- Align front and back panels, ensuring seams match at the neckline.
- Sew the shoulder seams using the tapestry needle.
- Sew the sides of the blouse. Leave armholes open.
Optional Side Adjustments
If the blouse feels narrow after assembly, you can add rounds using a mesh stitch pattern around the sides and bottom hem.
Step 6: Sleeves (Optional)
Foundation Chain
- Chain 26 blocks (odd number) or adjust width based on desired sleeve circumference.
Mesh Stitch
- Work rows of mesh stitch until the desired sleeve length is achieved.
- Do not shape or decrease; sleeves are straight rectangles.
Assembly
- Fold the sleeve rectangle and sew the lengthwise seam.
- Attach sleeves to the blouse at the armholes.

Step 7: Finishing
- Weave in all loose ends using a tapestry needle.
- Block your piece to even out stitches and ensure a professional finish.
Final Words
Tips for Crocheting Success
- Wide Hook Advantage: The 8 mm hook keeps the stitches loose and airy, perfect for summer wear.
- Custom Fit: Modify the neckline width or overall blouse length to suit individual preferences.
- Decorative Additions: Add edging to the sleeves and bottom hem for a polished look.
Concluding Thoughts
The Summer Blouse with Granny Square Mesh Look is a versatile and lightweight top that can be styled in multiple ways. By experimenting with colors, yarn types, and sleeve options, you can create a completely unique summer garment. This quick and enjoyable project is ideal for gifting or expanding your handmade wardrobe.