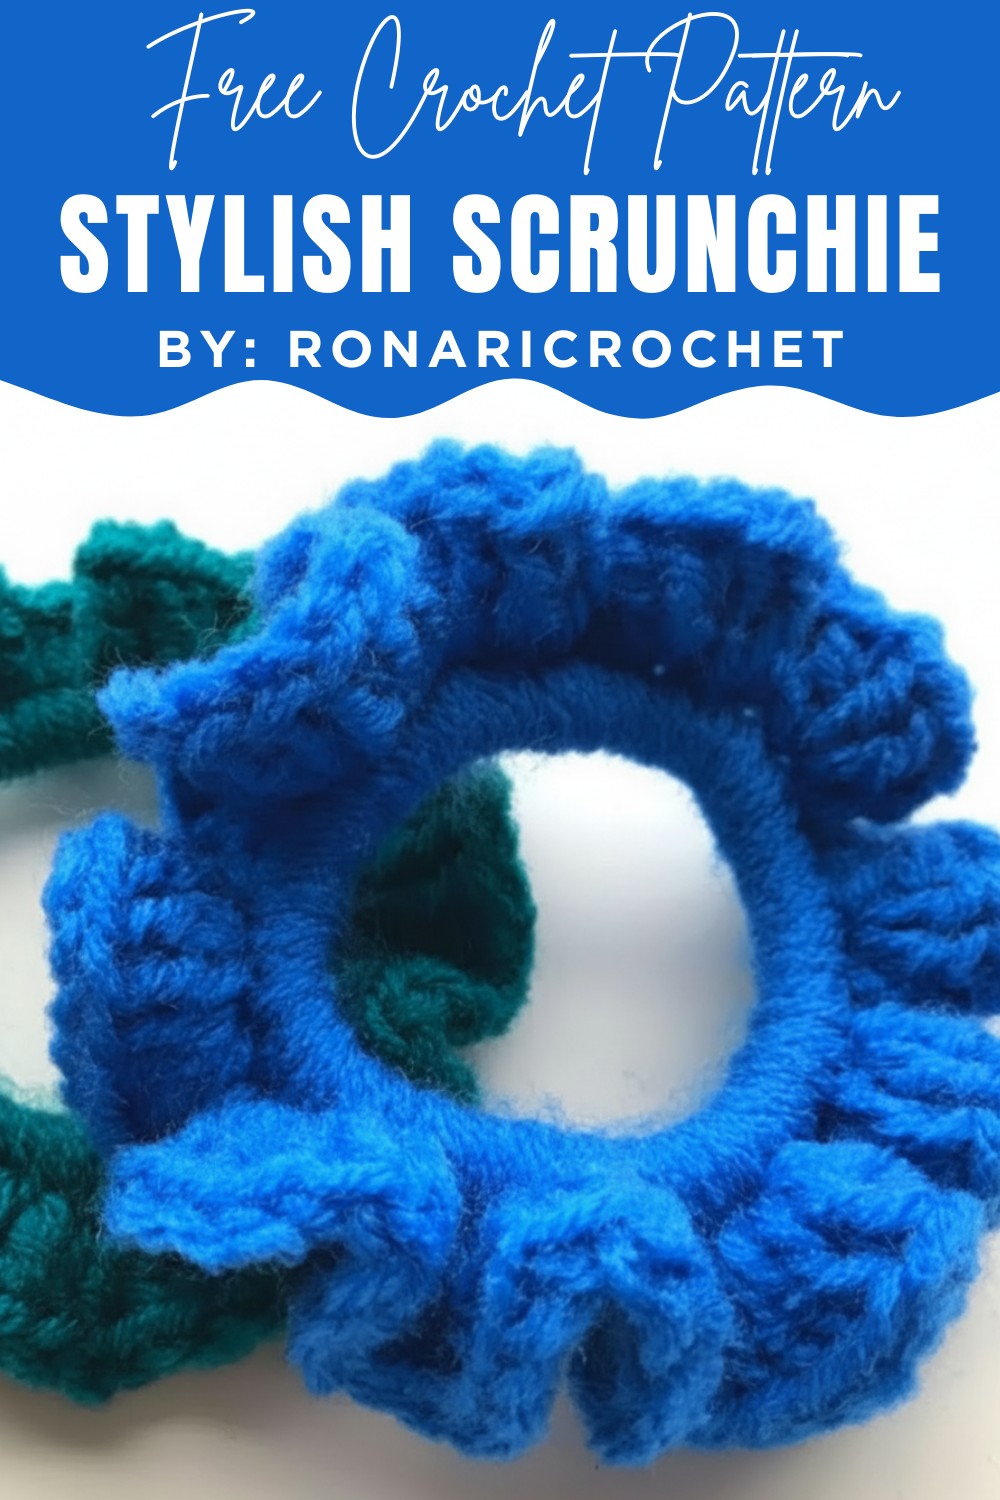
Learn Free Crochet Scrunchie Pattern for All Skill Levels
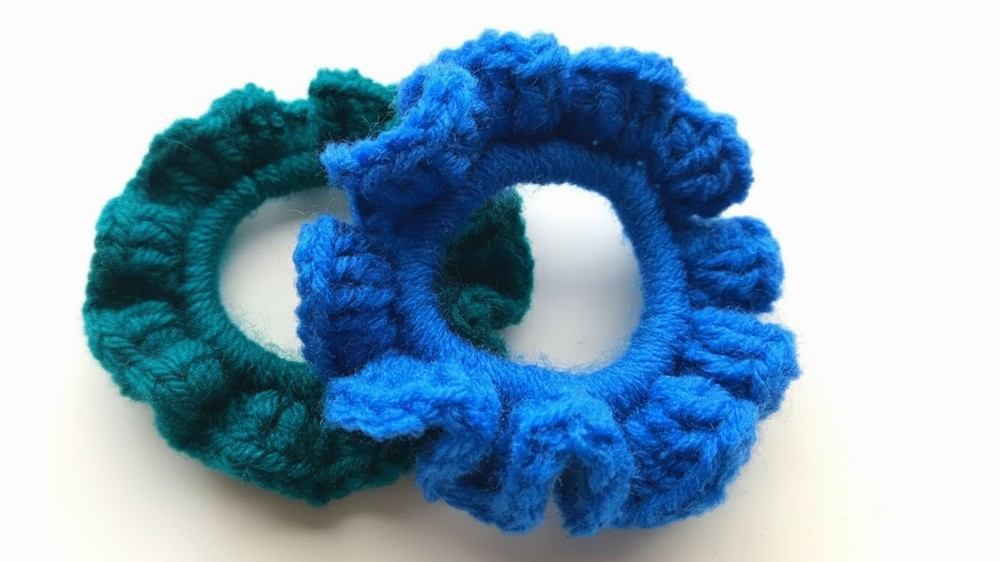
Versatility is at the heart of this pattern, as it can be adjusted to create either a subtle piece with tighter stitches or a larger, frilly scrunchie with extra ruffles. Lightweight to carry and quick to make, it doubles as a thoughtful handmade gift for birthdays, holidays, or simply as a way to show someone you care.
Plus, it’s eco-friendly—helping you repurpose yarn scraps while reducing the need for store-bought hair accessories. For those who love keeping things practical and stylish, this pattern delivers usefulness without sacrificing quality. A durable and trendy crochet scrunchie is all you need to elevate your everyday looks while enjoying a fun and satisfying project.
Special Features
- Quick-to-Make: Can be completed in less than an hour.
- Customizable Design: Adjust the number of stitches for more or fewer ruffles.
- Beginner Friendly: Utilizes simple crochet techniques.
- Eco-Friendly: Perfect project to use leftover yarn scraps.
Difficulty Level:
Beginner/Advanced Beginner. If you’re familiar with simple crochet stitches like SC, DC, and slip stitch, you’ll have no trouble with this pattern.
Materials Needed
- Yarn: Medium worsted weight acrylic yarn.
- Crochet Hook: 4.5 mm hook.
- Hair Tie: Standard elastic hair tie.
- Scissors: For cutting yarn.
- Tapestry/Darning Needle: To weave in loose ends.
Step-by-Step Pattern
Step 1: Start with a Slip Knot
- Make a slip knot and place it on your 4.5 mm crochet hook.
2: Attach Yarn to the Hair Tie
- Hold the hair tie behind your yarn and secure the yarn by working the first Single Crochet (SC) around the hair tie.
- Continue to work SC stitches into the hair tie in a circular motion.
- After every few stitches, push them together tightly to make space for more SCs.
3: Fill the Hair Tie with SC Stitches
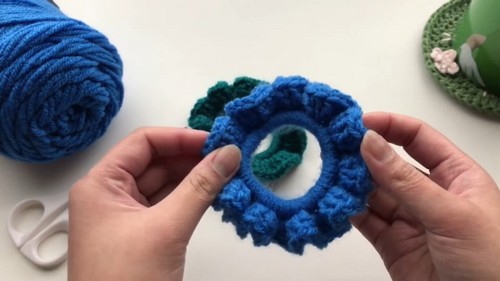
- Keep adding SC stitches until the hair tie is fully covered with stitches. The fuller the stitches, the wavier your scrunchie will appear.
- Aim for 40 SCs around the hair tie (or adjust depending on the thickness of the hair tie).

4: Join with a Slip Stitch
- Once the hair tie is fully covered with SC stitches, make a slip stitch into the very first SC to close the round.
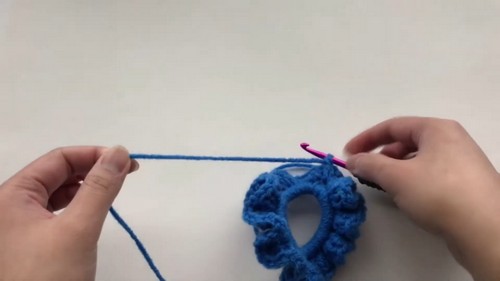
5: Begin Round 2 (Double Crochet - DC)
- Chain 2 (Ch-2): This will act as the first DC for this round and give you the height to continue.
- In the First Stitch: Work 2 Double Crochets (DC) into the same stitch.
- Explanation of Double Crochet (DC):
- Yarn over, insert hook into the stitch, yarn over, pull through the stitch (3 loops on the hook).
- Yarn over, pull through 2 loops, yarn over, pull through the remaining 2 loops.
- Explanation of Double Crochet (DC):
- Work 3 DCs into each SC stitch around, creating a wavy, ruffled texture.
6: Complete Round 2
- Continue adding 3 DCs into every SC stitch all the way around the circle.
- Do not work into the slip stitch from the end of Round 1.
7: Fasten Off
- When the round is completed, cut the yarn, leaving a tail for weaving in ends.
- Pull the yarn through the last loop to secure.
8: Invisible Join (Optional)
- Take a tapestry needle and thread the yarn tail through the top of the Chain-2 from the start of Round 2.
- Then thread it back into the last DC stitch for a neat, invisible join.
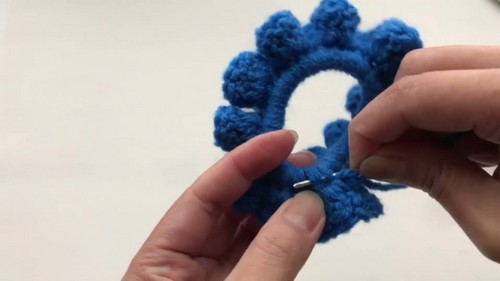
9: Weave in All Loose Ends
- Use the tapestry needle to carefully weave the yarn tail into the base of the SC stitches (near the hair tie).
- Avoid weaving through the elastic itself.
- Ensure the loose ends are tightly secured.
Step 10: Trim Off Excess Yarn
- Trim any remaining yarn. Your scrunchie is now complete!
Tutor’s Suggestions
- For Fullness: Add more SC stitches to the hair tie for a fluffier scrunchie with more ruffles.
- For Color Variations: Try using variegated yarn or alternating yarn colors for a unique design.
- For Yarn Alternatives: Choose a soft cotton yarn for a lightweight scrunchie or sparkly yarn for a festive look.
Uses
- Hair Accessory: Stylish and gentle on your hair.
- Gifts: Perfect quick handmade gift for friends and family.
- Scrap Yarn Project: A fantastic way to use up leftover yarn.
Tip:
Tightly push the stitches together around the hair tie as you work. This ensures a fuller, wavier scrunchie that looks more professional and has a better texture.
Conclusion
This scrunchie pattern is simple, fun, and practical, making it the ideal crochet project for beginners or anyone short on time. With endless customization options, you can create scrunchies to match outfits, seasons, or themes. Perfect for personal use or as meaningful gifts, this pattern combines creativity and functionality in a quick, enjoyable project.